When I worked on my zine, “Timers for Travelers,” I finished the writing first. I knew I wanted illustrations throughout the zine, some hand-drawn and some digital. I decided to lay out the zine in Canva so that I could combine text, digital elements, and hand-drawn elements.
I’m really happy with how the zine came out, so I want to document my process. This is less a tutorial of Canva and more a walk-through of how I used it to put together my zine.
Canva is a free tool for graphic design. Although there are paid tiers, everything in this post was done with the free version. You can use Canva directly in an internet browser and there are apps you can download, too. If you haven’t used Canva before, you’ll need to create a free account.
Create a new file in Canva
Click on the Create a new design button and then click on Custom size. Enter the dimensions for your zine pages. For example, a quarter page zine would be 4.25 inches wide x 5.5 inches high. This file becomes your working file.
Make your zine
Make the pages of your zine with whatever method works for you. You can write text directly in Canva. I find it easier to do all my writing first in a word processor (I use Google Docs) and then copy and paste text into Canva.
Canva has a lot of graphic elements and images you can use for free. All the photos available in Canva are stock images from Pexels and Pixabay, and they are royalty-free.
Since you can upload images into Canva, you can draw on paper and scan pages. Then upload your drawings into Canva, and add them to your working file.
Note: Add page numbers last! If you're making pages and don't know what order they're going to be in yet, don't number pages. Instead, add page numbers after you have pages arranged in the order you want for the finished zine.
Print your zine
I like leaving my working file as is, like a draft. So when it’s time to print my zine, I make a copy of the working file (File >> Make a copy). This becomes the print file.
Since the pages will be printed on 8.5 x 11-inch paper, cut, folded, and stapled, they need to be arranged in the correct order for printing.
To figure out the print order of the pages, I make a mock-up version of the zine with scrap paper. There are lots of ways to do this. Here’s how I figure out page order.
Go to the print file in Canva and rearrange the pages for printing. You can drag and drop pages or use the up and down arrows above each page to change where they are.
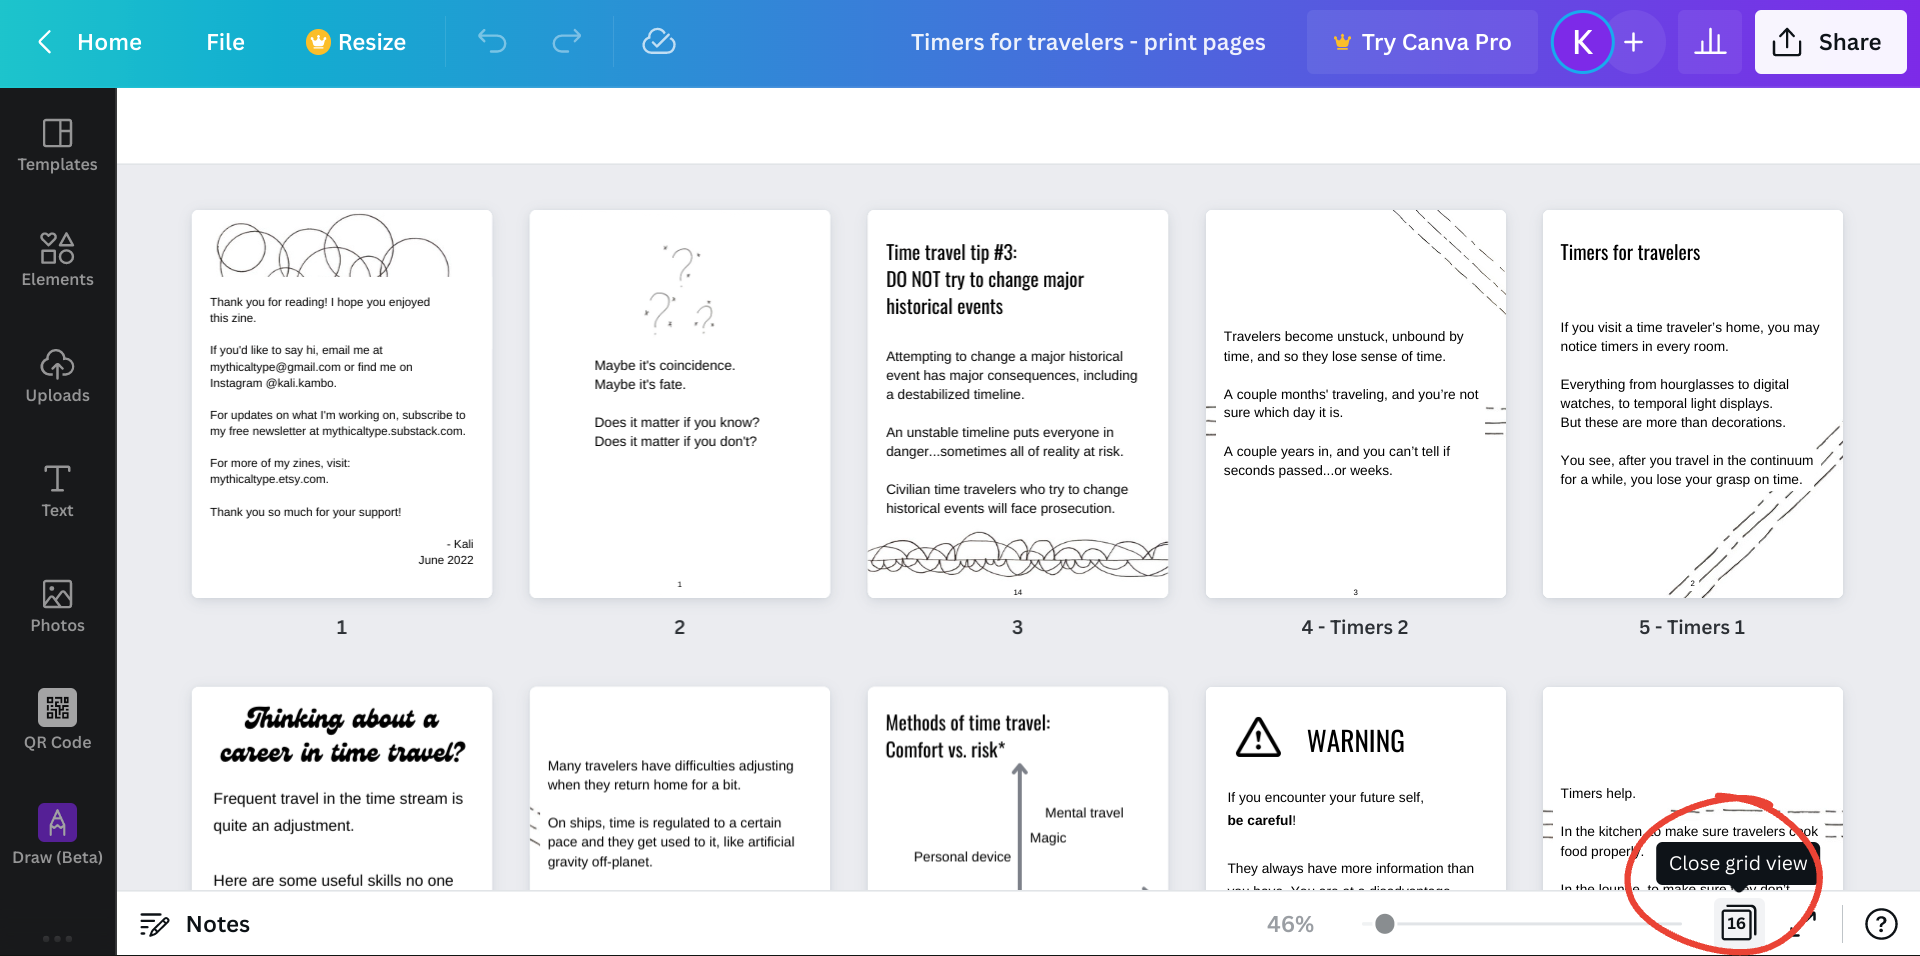
When I’m moving a lot of pages around, I like working in grid view. Click on the button in the bottom right of the screen that looks like a stack of papers with a number on it.
When you’re done arranging pages, download the print file as a PDF. Click on the Share button (top-right). Then click on Download. For “file type,” choose “PDF Print.”
Open the PDF file on your computer. Go to print settings. Find the option for pages per sheet, and change this to 4. This will print 4 of your zine pages on one 8.5 x 11 piece of paper. Make sure two-sided printing is selected.
Print your zine. Cut the pages in half horizontally and then fold them. If you ordered the pages correctly in Canva, then the pages should be in the correct order when you assemble them as a booklet.