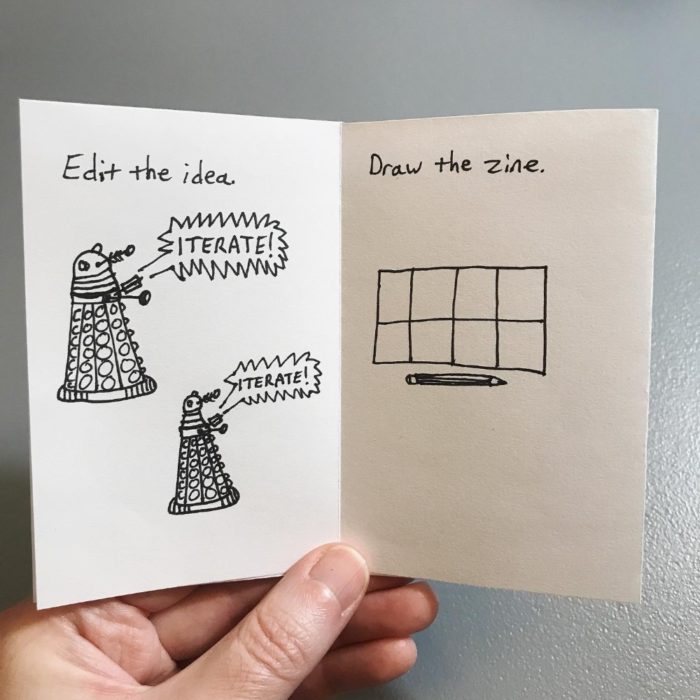
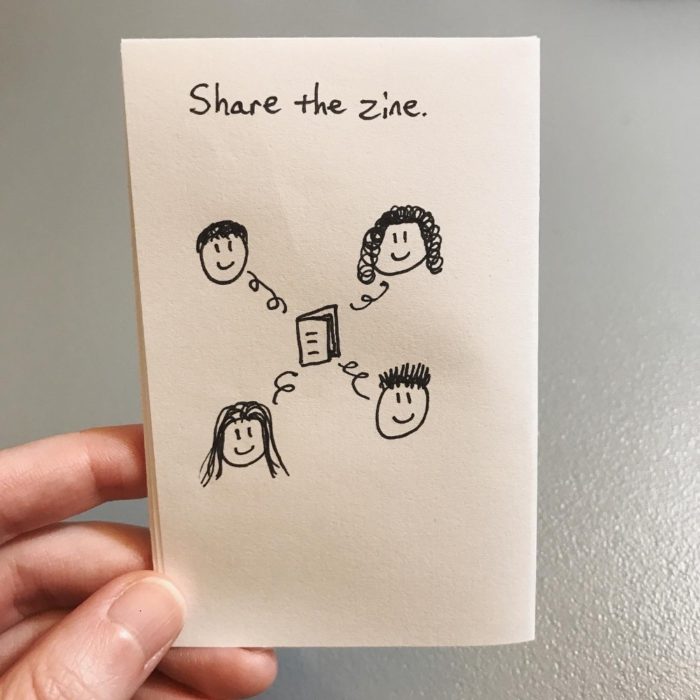
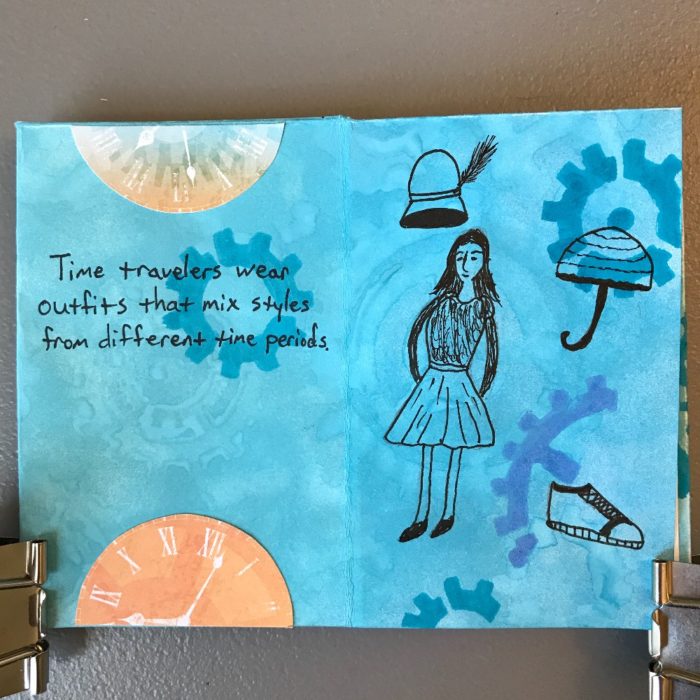
Full disclosure: I wanted to draw little Daleks and built the rest of this zine around them.
Bonus material
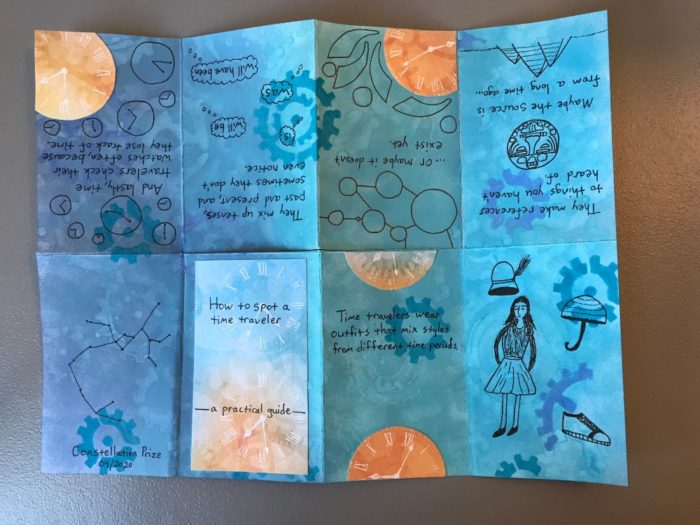
Planning
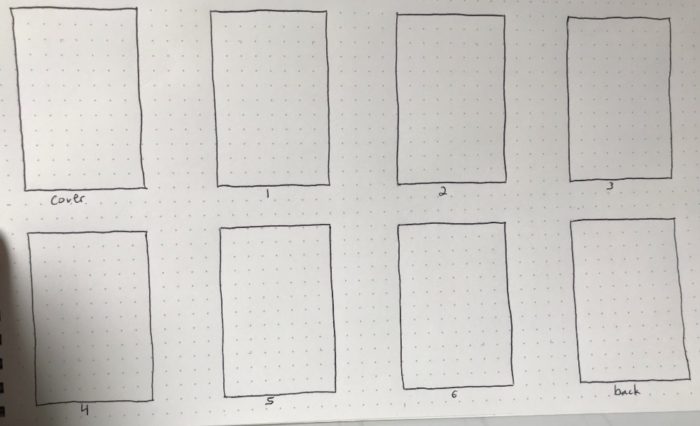
If I don’t quite know what I want to write or draw, I plan out the zine on one page, like so:
This acts as a rough draft of my zine, so I can sort out what I want on each page.
Guiding
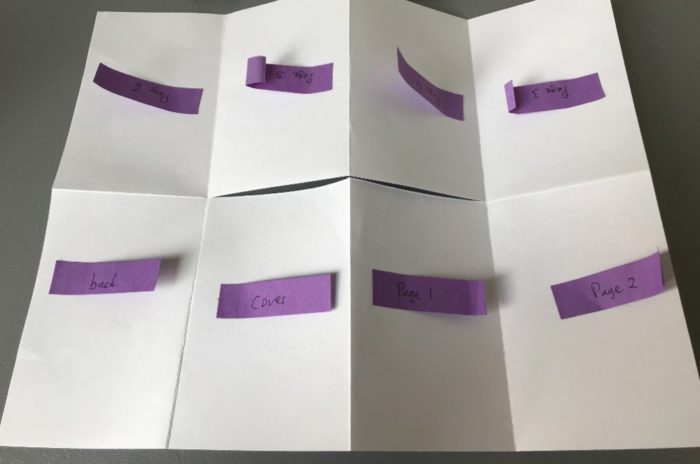
I like to work on zines with the page unfolded, so I use small sticky notes to label each page, like this:
This lets me work on pages in whatever order I want, without losing track of the order in the folded zine. And, having the page unfolded means I don’t have to worry about ink bleeding through to another page.
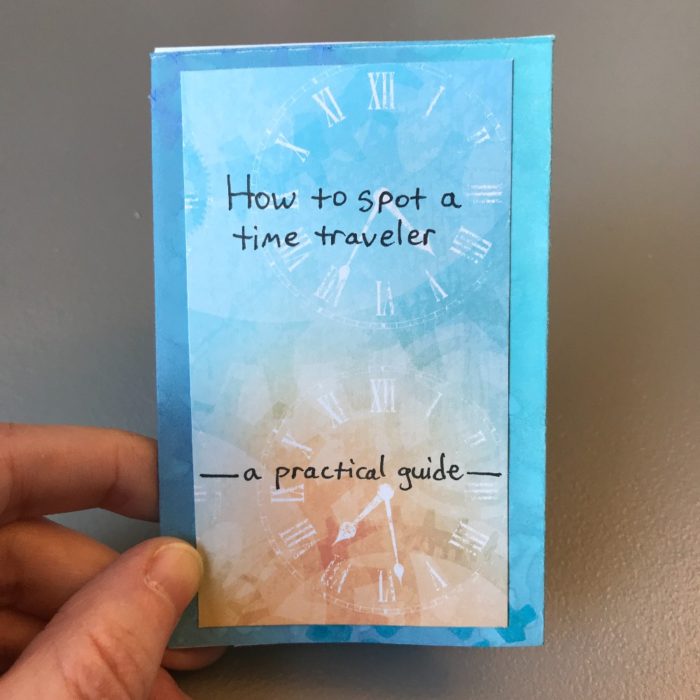
To make the background for this zine, I started with white cardstock paper. I used distress oxide inks (3 shades of blue) and blended them on the paper with a sponge applicator. This ink reacts with water, so I used a gear stencil and traced the gear shapes with a brush and plain water. That’s what made the sort of ghost-looking gears. I used watercolor brush pens with the stencil to create the darker blue and purple gears. The blue and orange clock faces (most of the cover page and the clock faces on the inside pages) are scrapbook paper that I happened to have and fit perfectly. 🙂
I use my bullet journal for personal writing and notes (nothing work-related), so I don’t have much that needs to be tracked on a daily basis.
A couple years ago, I started tracking how I spent my spare time. More specifically, days I spent consuming media vs. working on creative hobbies and side projects. I played with a few different formats and settled on this one, back in May 2018:
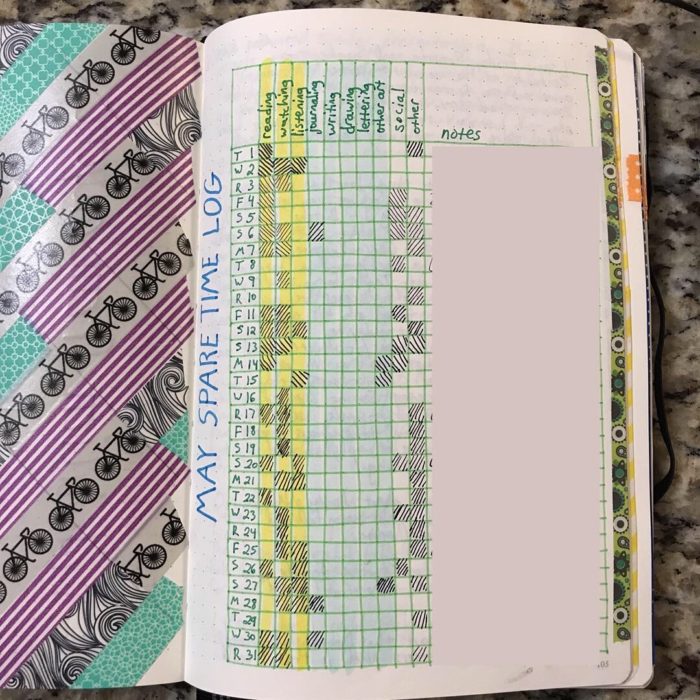
My monthly log from May 2018
My first monthly log
It’s similar to the monthly log in the official bullet journal method, but I added columns to track activities for media consumption (pictured in the yellow columns above) and creative work (pictured in the blue columns). I also had a column for “social”, which was any time I spent hanging out with family or friends. My “other” column served as a catchall for everything else, like chores or errands. And there was space for brief notes for each day.
I liked this format, but the blue columns were mostly empty month after month. That’s because I cycle through what kind of creative projects I work on. For example, I’m rarely drawing and writing at the same time. It’s typically one, and then the other. And I have times where I’m not working on any creative projects at all, for whatever reason.
Also, it didn’t really matter to me what kind of media consumption I spent time on (reading, writing, or listening). Having separate columns for those didn’t help me.
So, I simplified.
A simpler monthly log
A few iterations later, this is what my monthly log looked like:
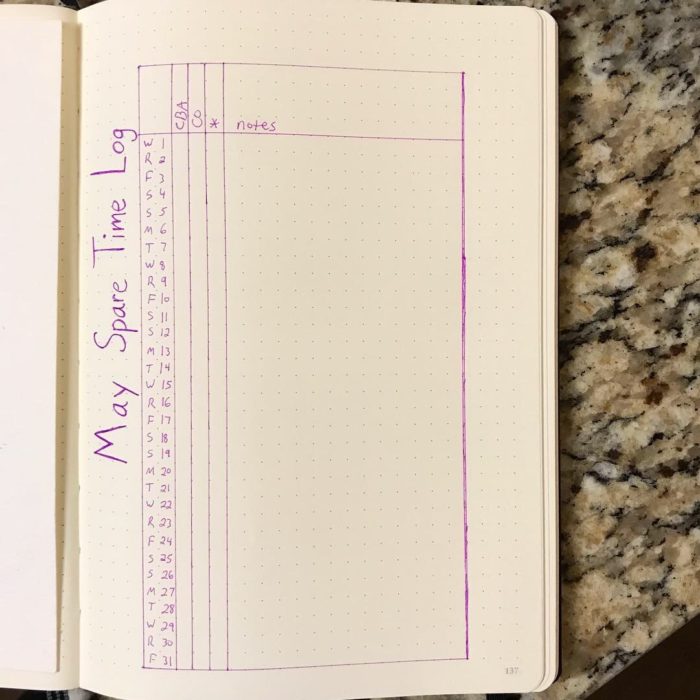
My monthly log from May 2019
Fewer columns. I had three, plus a section for notes.
CBA = Creative Bank Account
The first column is for “Creative Bank Account.” This is an idea from Jake Parker (see his overview video). To summarize his video:
To produce art, you need to build up a “bank account” of inspiration
This could be movies, books, TV shows, music, live performances, museum visits, hobbies…anything that inspires you or teaches you
Inspiration doesn’t have to be related to what you’re producing
When you aren’t feeling inspired to produce art, it might be because your bank account is “low.” So, that means you need to make a “deposit”–surround yourself with inspiration to build up your creative bank account again
I marked this box when I spent time making “deposits” into my creative bank account. What were 3 yellow columns the year before were condensed to one column.
CO = Creative Output
The second column is for “Creative Output.” This is for time I spent working on a creative project. That could be drawing, writing, or making something. And it included practice time; not only finished work. The blue columns from the year before were now condensed to one column.
The asterisk
The asterisk (*) column served as my catchall. I marked this for social events or running errands. Anything that was not CBA or CO.
I liked the simpler layout. At the end of the month, I could see at a glance where I spent my time when it came to creative work.
This format served me well, but I noticed a trend over time. I marked the CBA and asterisk columns every day. The CO column was the only one that varied.
I didn’t need to have columns for things that happen every day. That didn’t help me see a pattern. So I simplified the log even further.
Simpler still
Starting in May 2020, this is what my monthly log looks like:
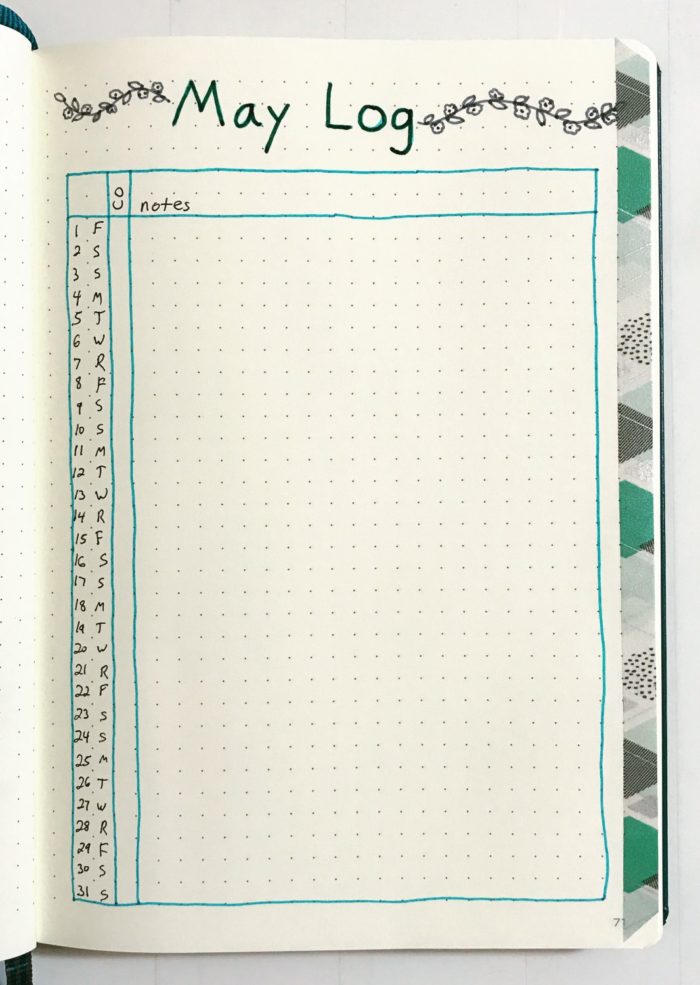
My monthly log from May 2020
One column to track CO, and then space for brief notes each day. And that’s it.
Besides being quick and easy to fill out the log every day, this simplified format is also easy to draw. Fewer columns, fewer lines, means a faster setup every month.
I like looking for ways to simplify my journal. The less time I spend on layouts and formatting, the more time I have for writing and working on projects.
Are there things you like to track monthly? How do you go about about it? Please let me know in the comments, or send me a message.
It’s been a couple years since I wrote about how I set up my bullet journal. I make changes every now and then to what I track and what goes in my notebook. So, here’s an update on how I set up my bullet journal and what I use it for.
While I use a lot of the same ideas as the bullet journal method, I don’t follow it very closely. For example, I don’t keep many to do lists in my bullet journal. I use the iOS Reminders app on my phone for those instead.
The notebook
I use an A5 hardcover Leuchtturm 1917 with a dotted grid for my bullet journal. I really like this notebook for a few reasons:
Dot grid — The dots serve as a subtle guide for writing but are light enough that you can ignore them and treat the page as if it were blank. The grid helps me keep my writing neat without interfering with doodles and diagrams.
Numbered pages — Much neater than me numbering the pages and easy for referencing pages.
Ribbon bookmarks — Two ribbons are handy for marking pages. I keep one ribbon with my monthly spread and the other ribbon at the next available page.
Hardcover — Sturdy enough that I don’t have to be at a table to write.
Paper quality — Ink rarely bleeds through; limited ghosting.
The first thing I do when I start a new notebook is break in the spine. Taking a few minutes to do this ensures the spine is broken in gently (and minimizes damage to it later) and helps the notebook lie flat.
Title page
On the title page, I write my first name, phone number, and a short “If lost and found, please call…” message. I’m careful with my notebooks when I’m in cafes and using them in public, but you never know when you might accidentally leave a notebook behind! Including your name and a way to contact you in the notebook makes it easier for someone to return it to you.
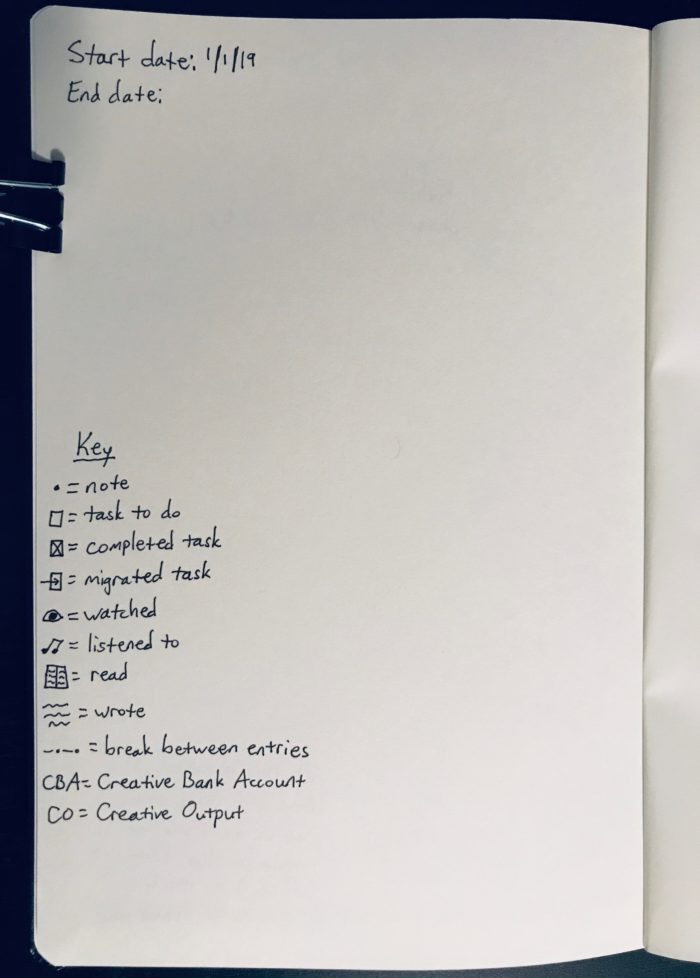
Symbols key
On the first page (left of the first index page), I write the start date, leave room to write the end date, and include a key for symbols I use in my notebook. The first four are straight from the original bullet journal set up. I use my notebook to log stuff that I watch, listen to, read, and write, so I’ve got simple symbols to mark that info, too.
Index pages
I use the index pages to log important pages in my notebook, so there’s nothing to set up here ahead of time.
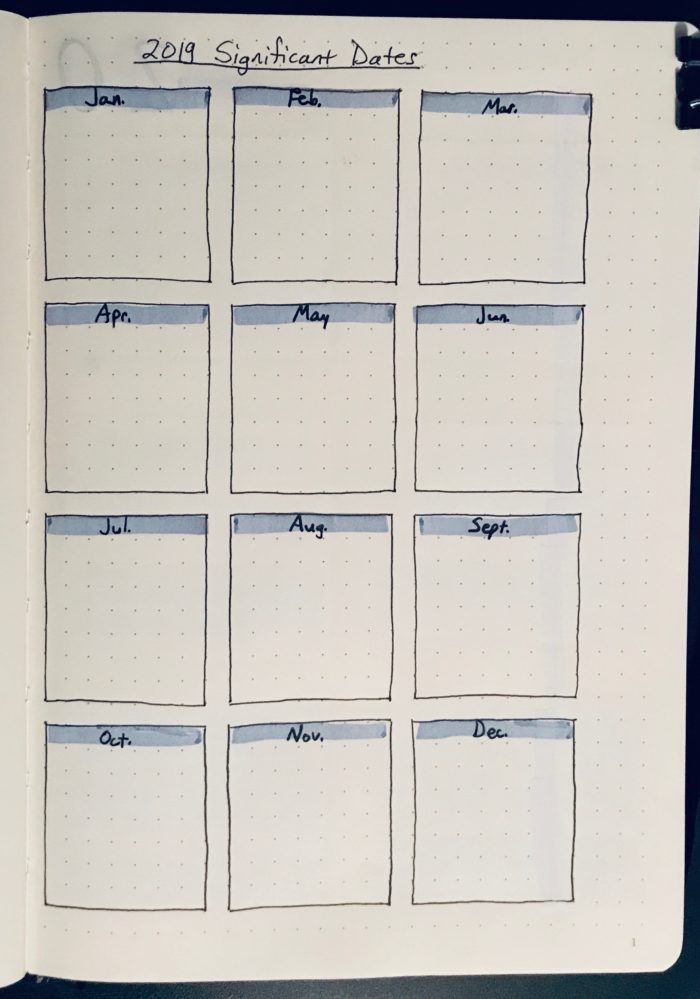
Future log
I use one page to log future events and to note any significant events as they happen. This is a handy reference during the year.
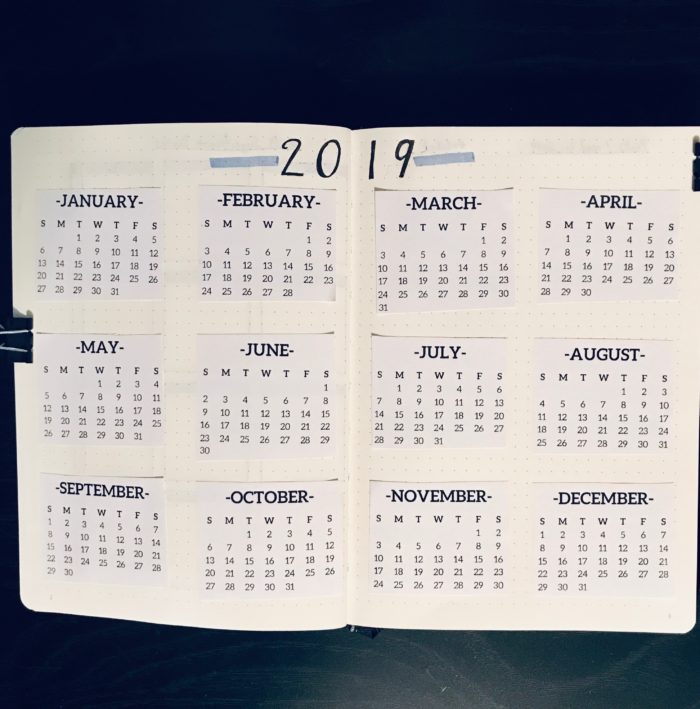
Year at-a-glance
I use a two-page spread for a year calendar view. I print out mini-calendars and paste them in, 6 months on each page.
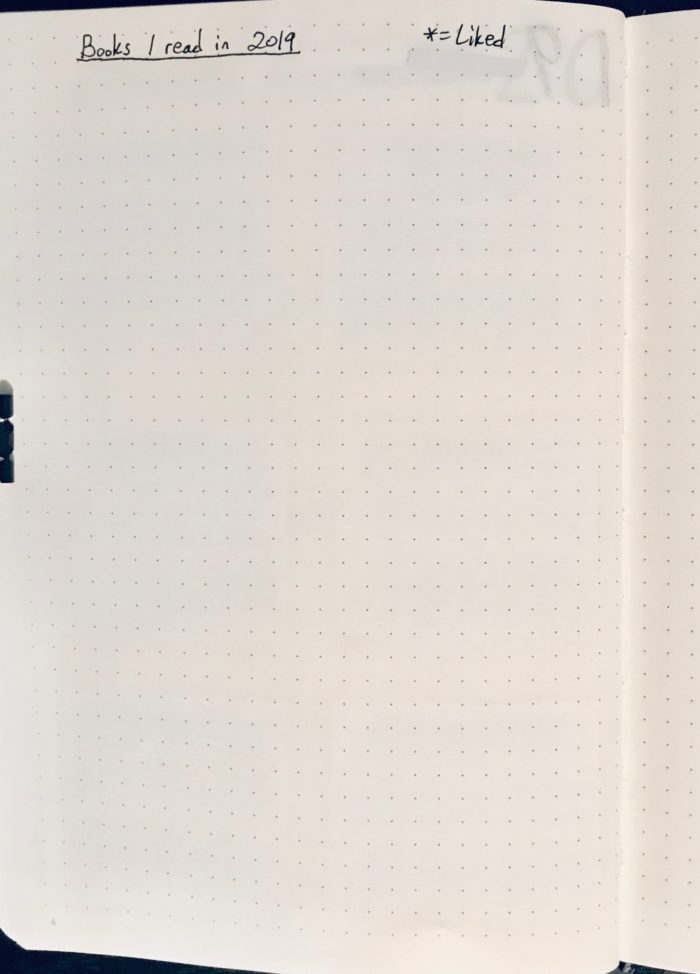
Books and movies logs
I have a two-page spread to list books I read during the year. I mark books I like with an asterisk (*).
The next two-page spread is to list movies I watched during the year. I give each movie a star rating (out of 5 stars), so I can see at a glance which movies I did and did not like.
Wish list
The next page is a Wish List for gifts I want or things I’m saving up for. This is a page I added last year for the first time, because I would think of things during the year and then forget about them by the time it was my birthday or Christmas.
Monthly spread
I have a monthly spread that I create at the beginning of each month. I treat the left-hand page like a scrapbook page for memories or significant events in the month.
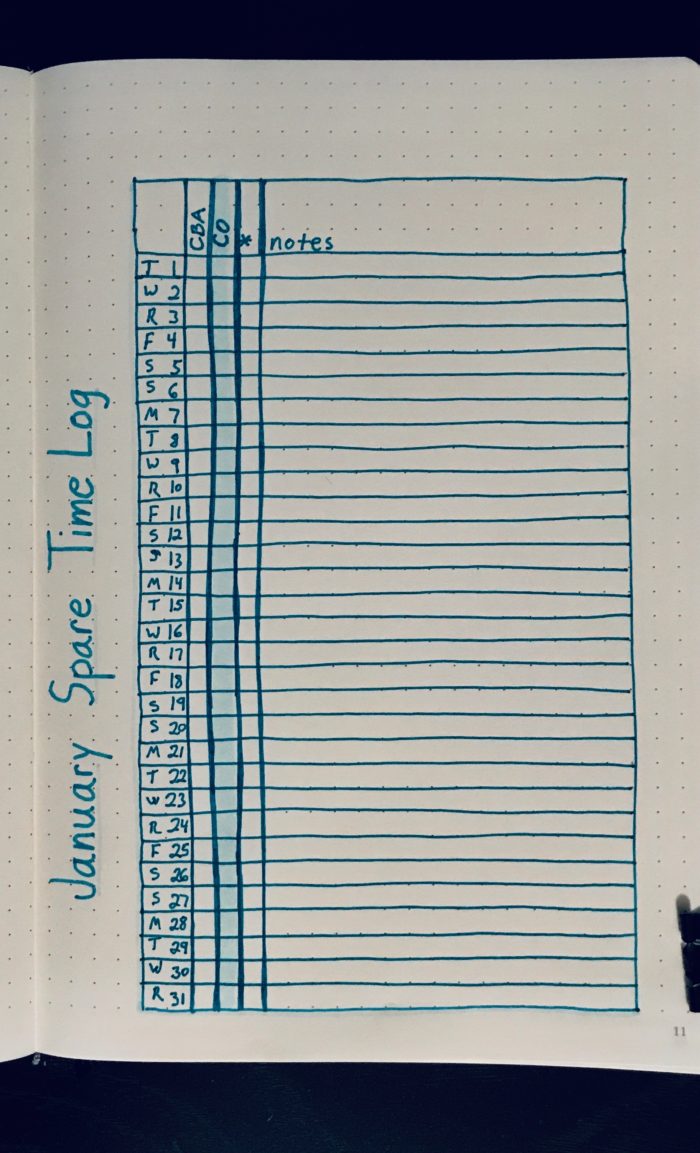
The right hand page is a tracker for how I spend my spare time.
“CBA” stands for “creative bank account” (an idea from Jake Parker). I mark this column for time I spend watching TV shows or movies, reading, listening to music or podcasts, and anything else that could be creative inspiration (like concerts or theater shows).
“CO” stands for “creative output.” I mark this column for time I spend on something creative (drawing, writing, and arts and crafts). This includes practice/learning time—not only finished work.
The asterisk (*) is an “other” column for social events or running errands…anything that’s not related to CBA or CO.
“Notes” is for any notes I want to log.
Review tab
The other thing that’s part of my setup is a removable tab (like these tabs from Post-It). I use this to keep track of what I’ve indexed. Periodically during the year, I’ll page through my notebook and decide if there are pages I should log in the index. This tab marks what I’ve reviewed, so I know where to pick up the next time I review pages.
Simple setup
I keep my setup simple so that it’s easy to repeat and doesn’t take too much time to create layouts. I limit the colors and decorations that I use so that I can focus on the work I’m doing, rather than spending too much time on the notebook itself. This makes it easy to stay with the journal throughout the year without feeling overwhelmed.