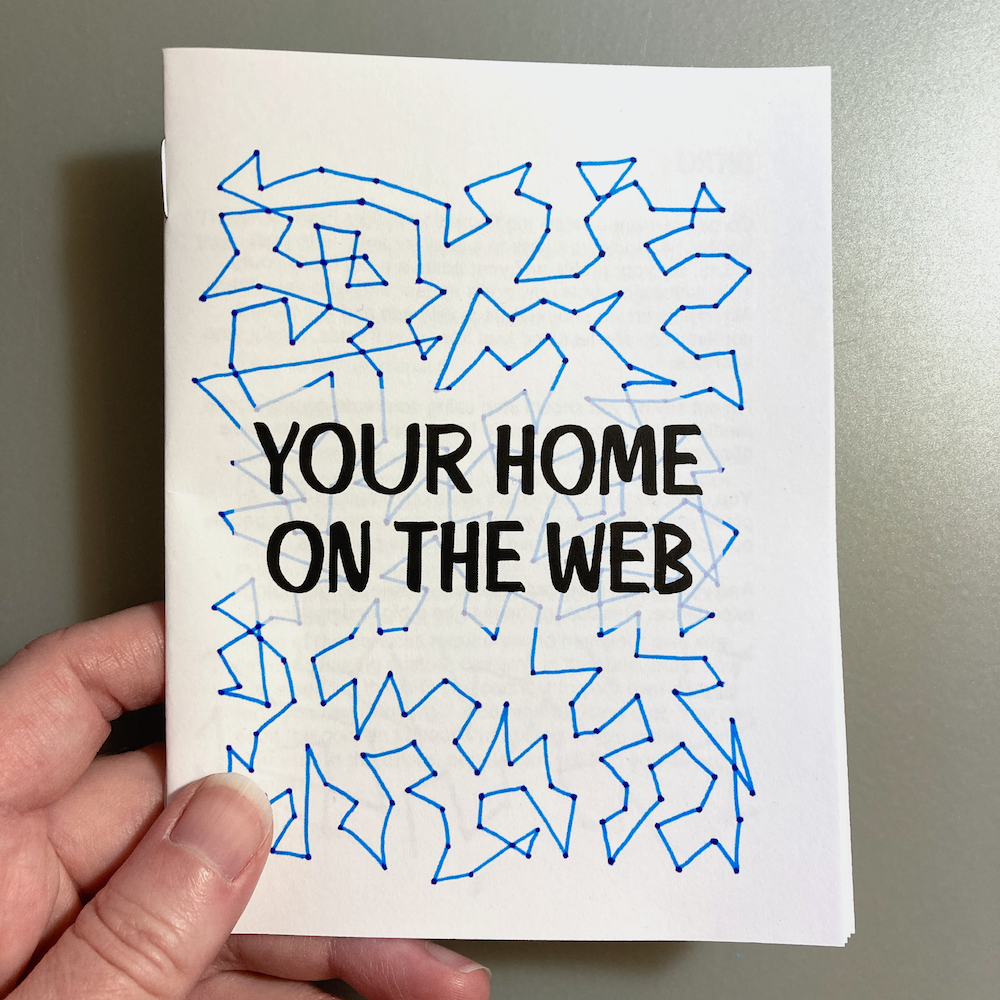
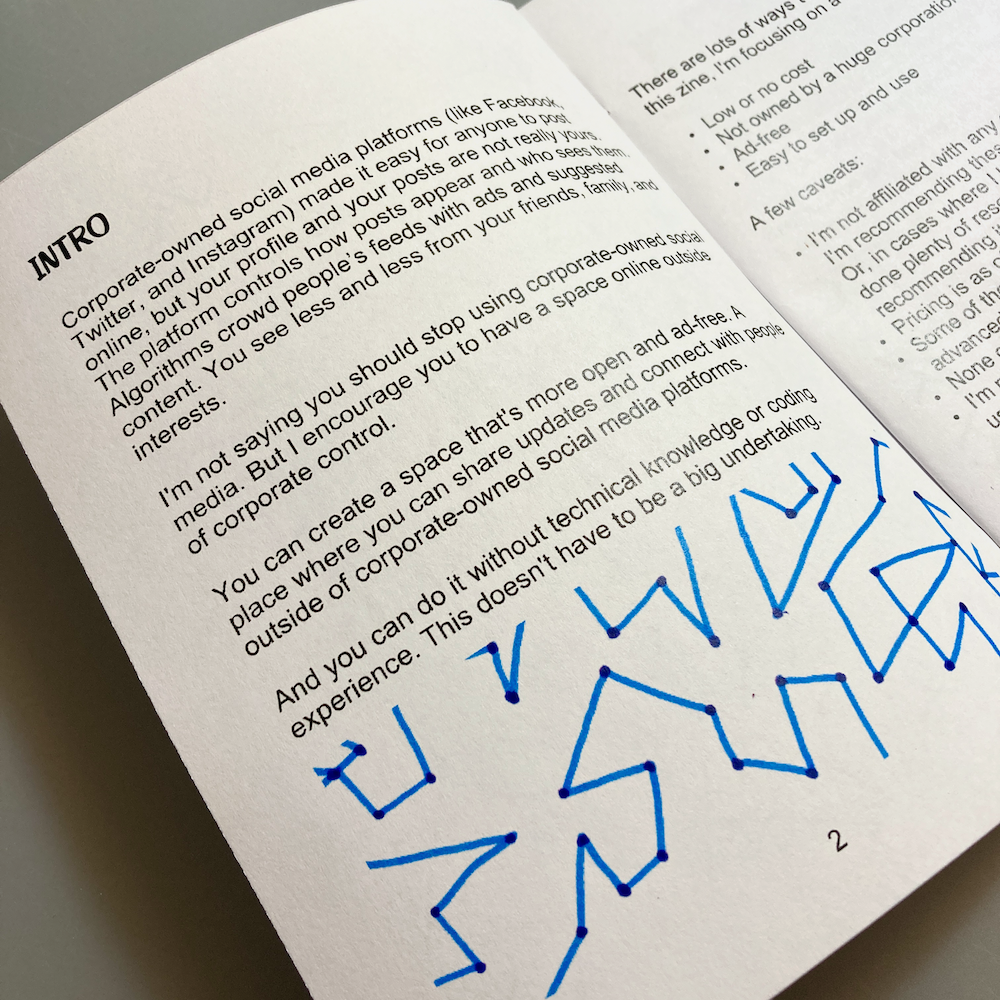
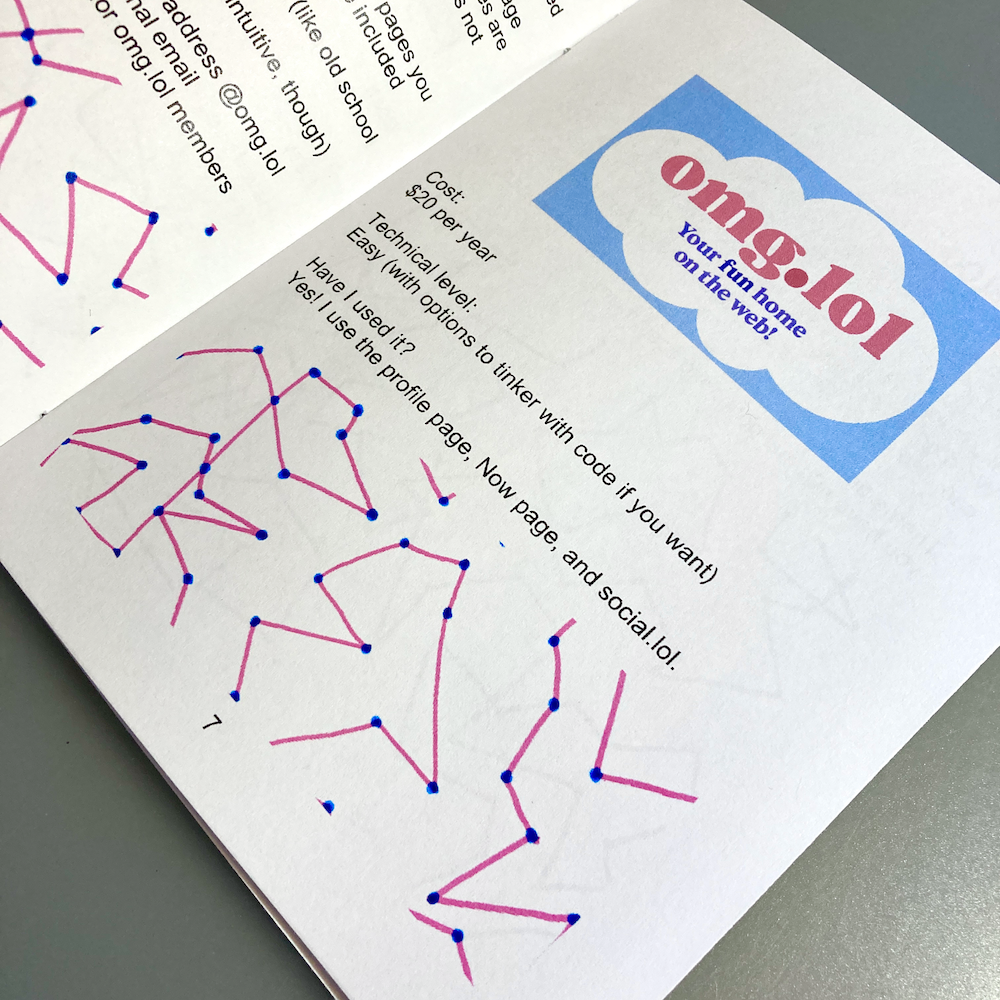
New zine! 💫 “Your Home on the Web” is a 16-page zine about low tech, low cost ways to make a simple website or blog. Notes for each platform include a description, key features, and pricing.
The zine encourages you to have your own space on the internet, away from mainstream social media platforms.
Details:
16 pages (including covers)
Finished zine measure 5.5 inches high x 4.25 inches wide
Printed in full color on white paper
Folded by hand and bound with staples
How to read this zine:
Physical copies are available in my Etsy shop (U.S. only 🇺🇸)
Here’s a quick video that shows how I use a pencil mug to flatten my zines. Very simple, low-tech. But I’ve gotten a few questions about it, so I thought it was worth showing.
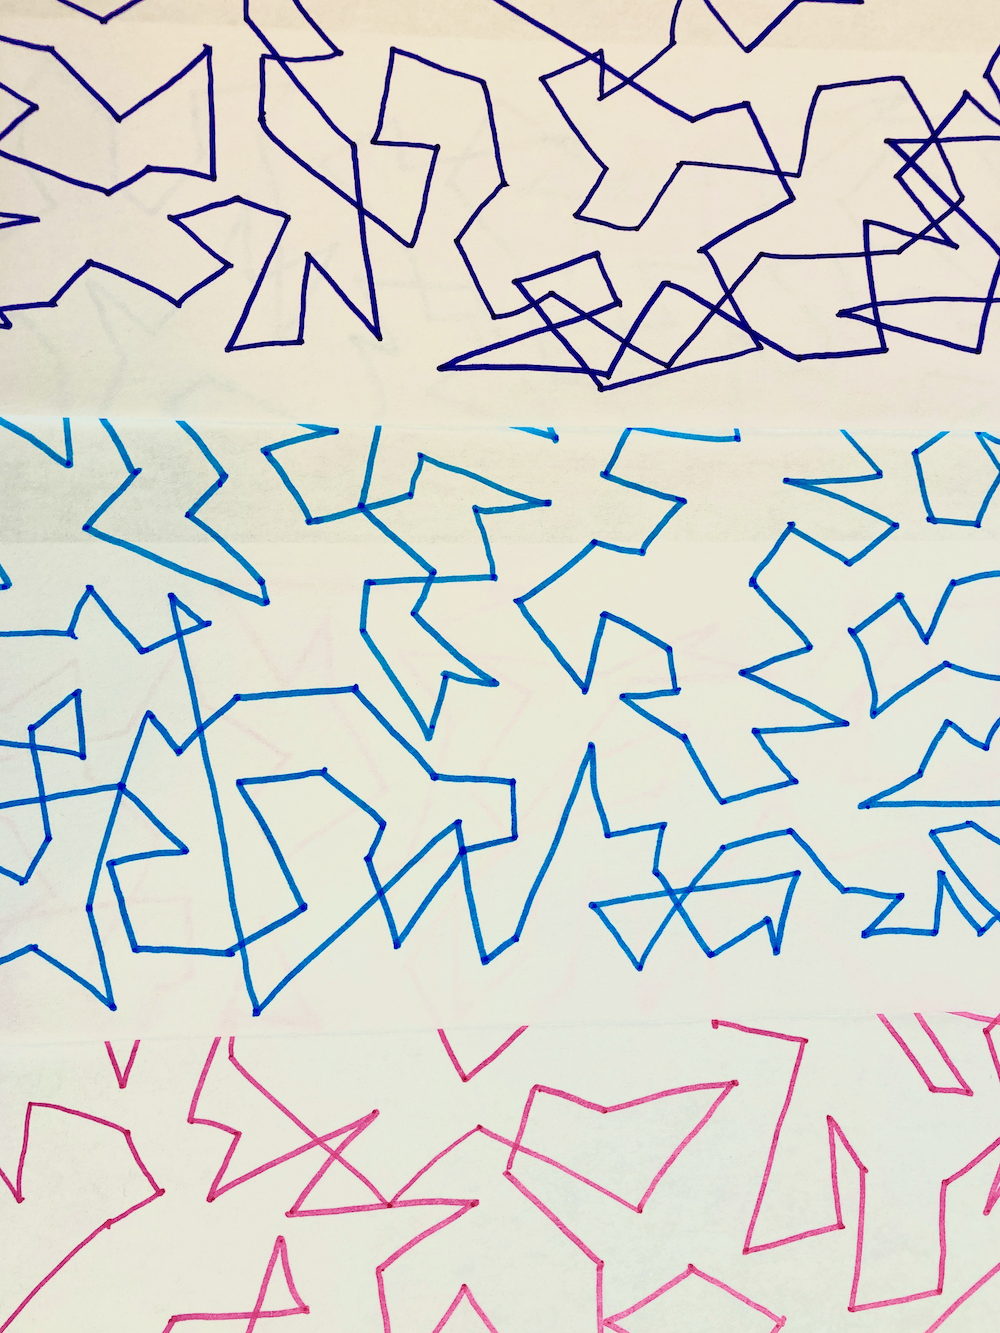
I drew some background pages for a new zine I’m working on.
Pretty simple process.
Draw a lot of random dots on a piece of paper.
Draw straight lines to connect dots. I change direction when going to a new dot. It’s okay to cross over an existing line, but I do not go through an exisiting dot.
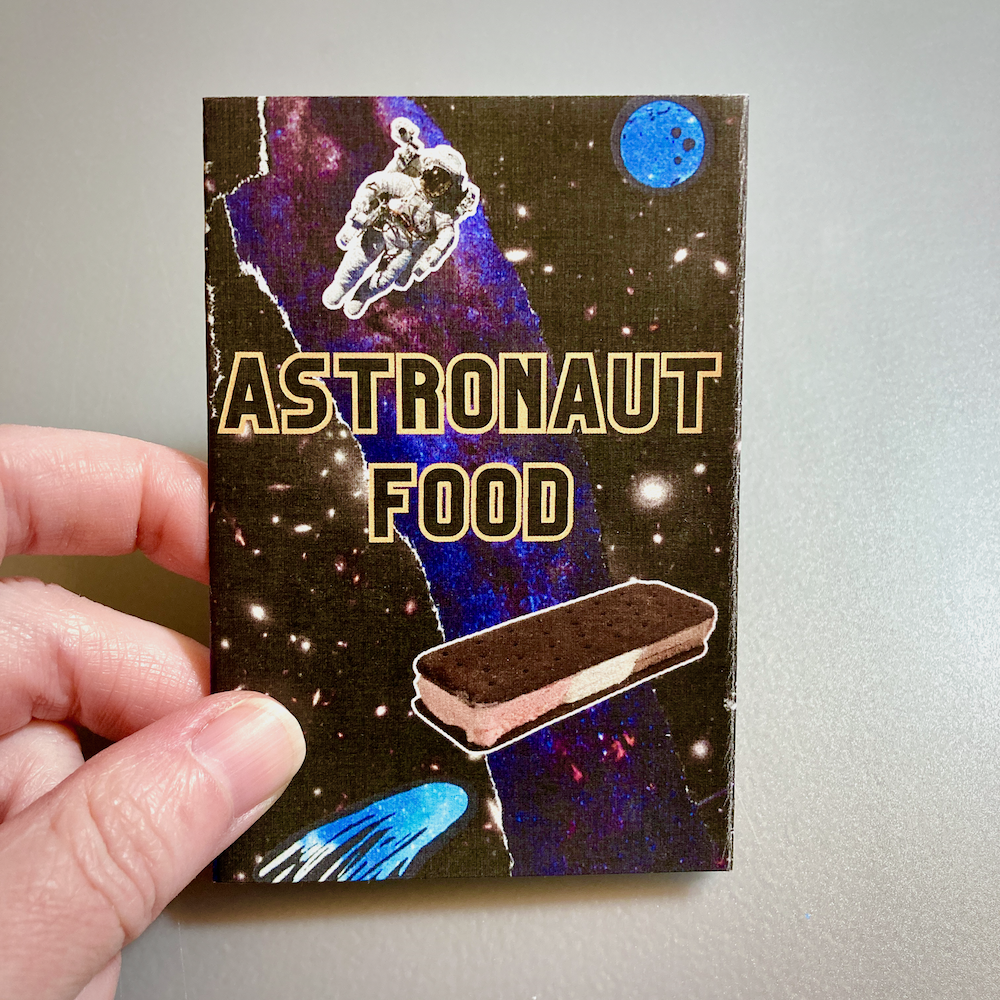
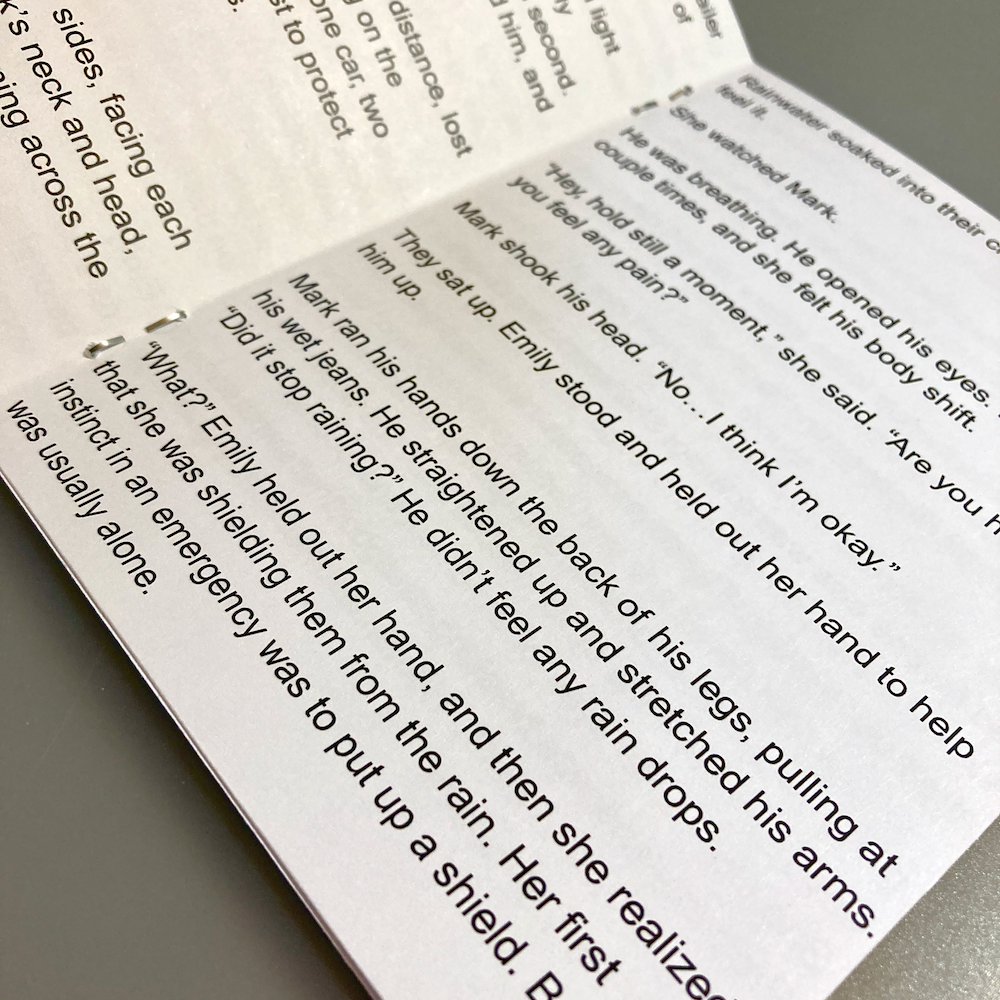
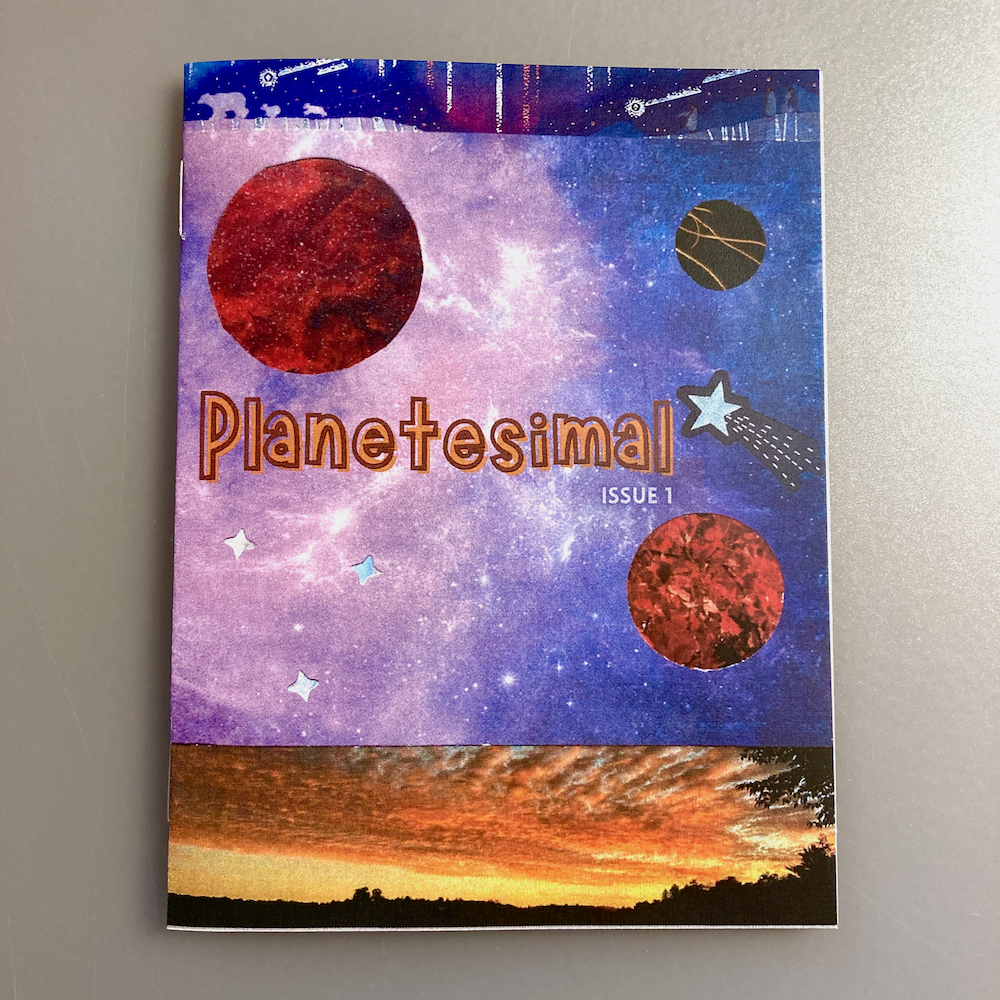
Planetesimal is a zine series where each issue includes flash fiction. Some stories are interconnected while others stand alone.
Issue 1 includes one story, “The Accident.”
Emily recently discovered she has special abilities related to weather and nature. A truck accident forces her to choose between keeping her abilities a secret or revealing them to her friend, Mark. (This story originally appeared in a podcast episode for VLASINDA’s Desolate Library.)
Printed copies are available in my Etsy shop (U.S. only). I’m also open to trading (anywhere mail can go).
Zine details:
The zine cover is a handmade collage
All text is typed
8 pages (including covers)
Finished zine measure 4 inches wide x 5.25 inches high
With no particular timing in mind, I’m going to move the non-zine-related posts on this site to my personal site, kalikambo.com. Keeping this site for zines only and then everything else on kalikambo.com is easier for me.
As is, when I have art to post, I have to decide where it fits more – here or kalikambo. And sometimes it’s hard to be consistent about what goes on which site.
Just a head’s up, if you notice some posts are no longer here.
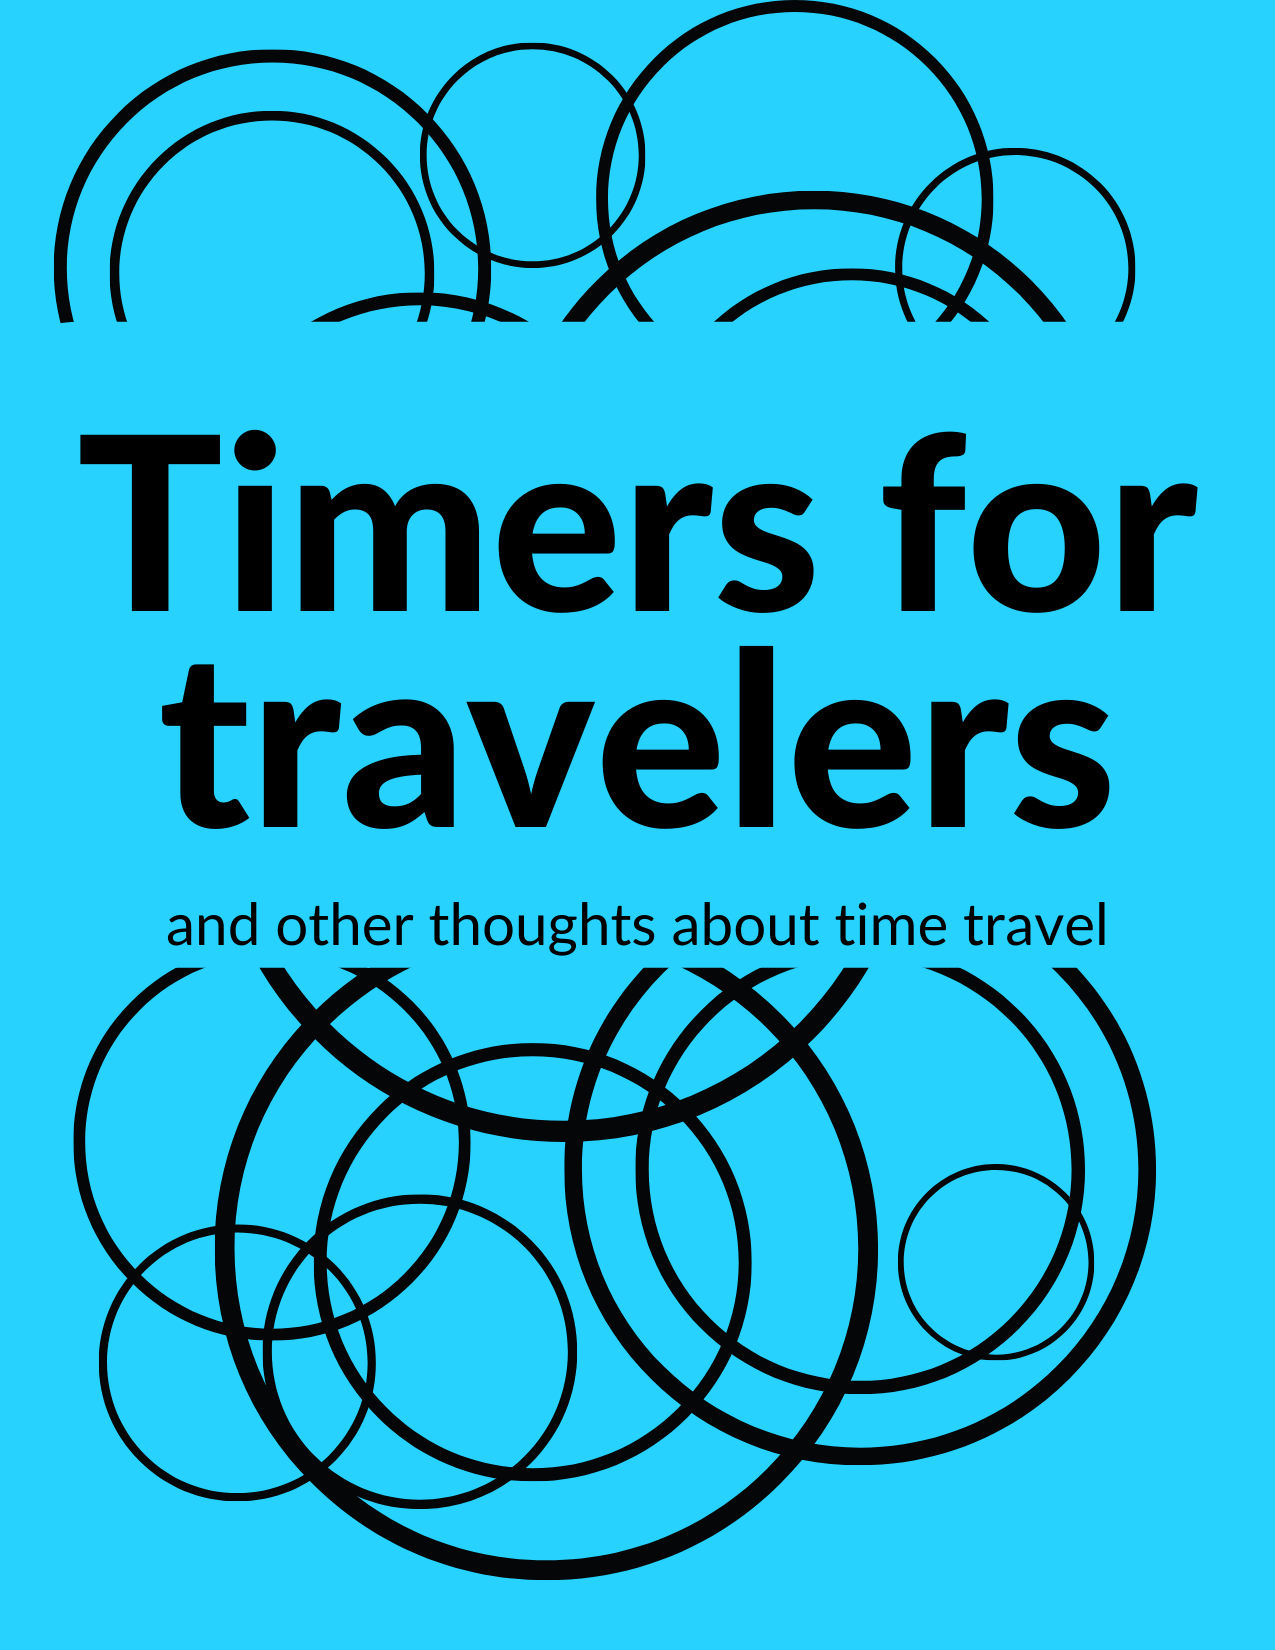
Someone on Etsy asked if I planned on making more copies of “Timers for travelers.”
I’m not planning on printing more copies any time soon, but I thought it was a good opportunity to make a digital version. The PDF version of “Timers for travelers” is now available on Ko-fi (free/pay what you want).
One hundred copies of my PDF tutorial, “How to design a mini zine in Canva,” have been downloaded on Ko-fi. 😃 I’m glad people continue to find it, and hopefully they’re making lots of zines!
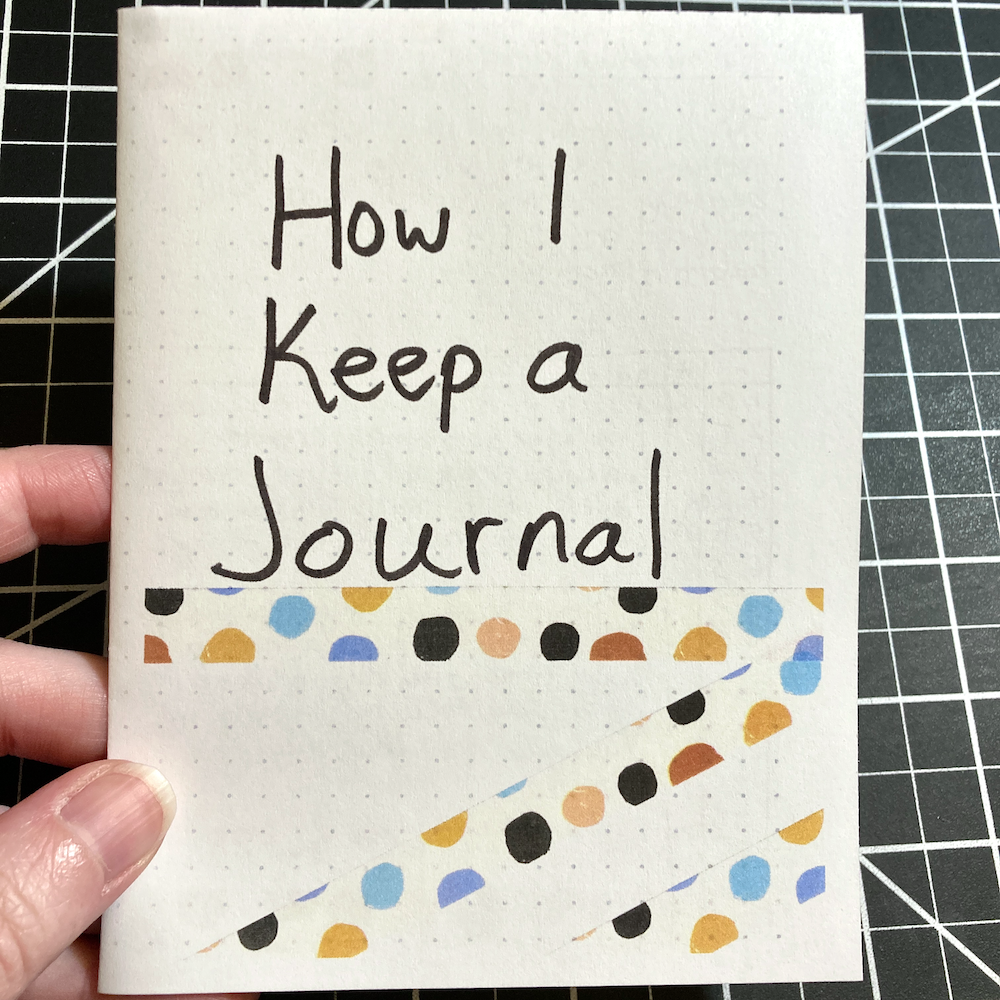
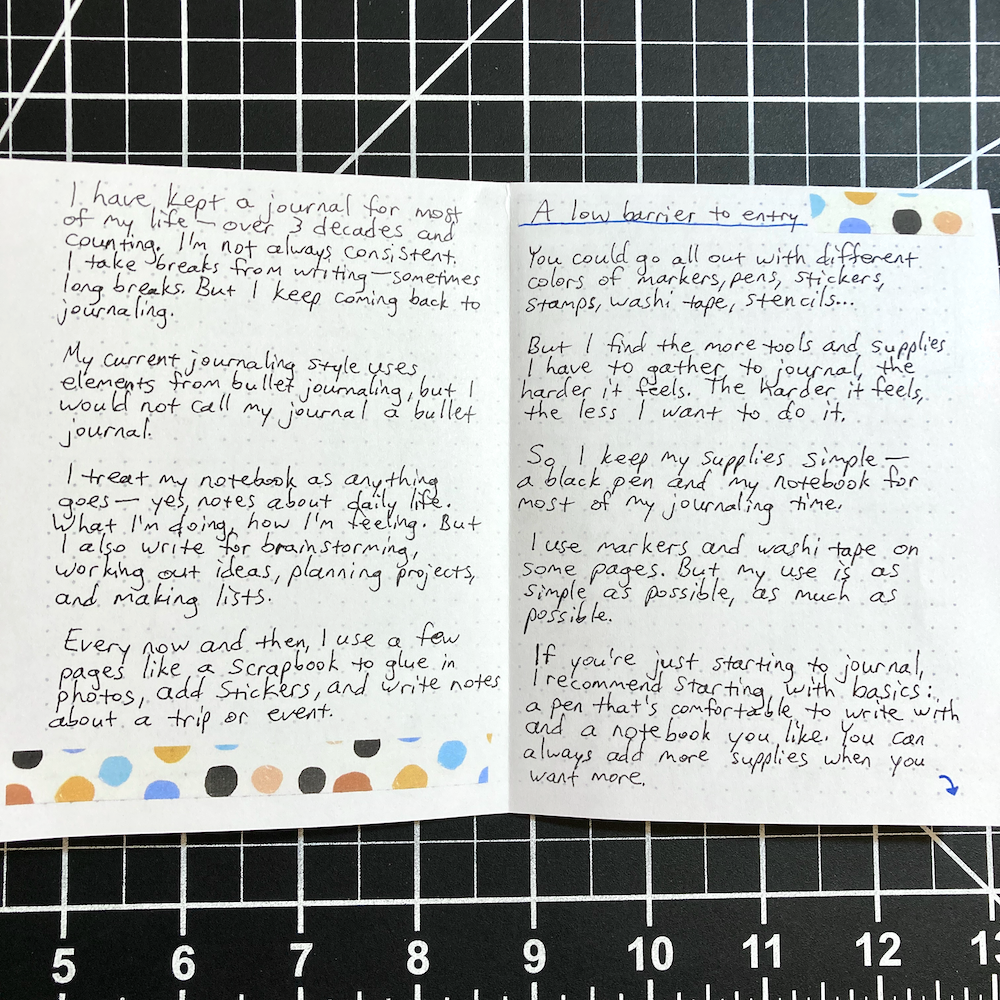
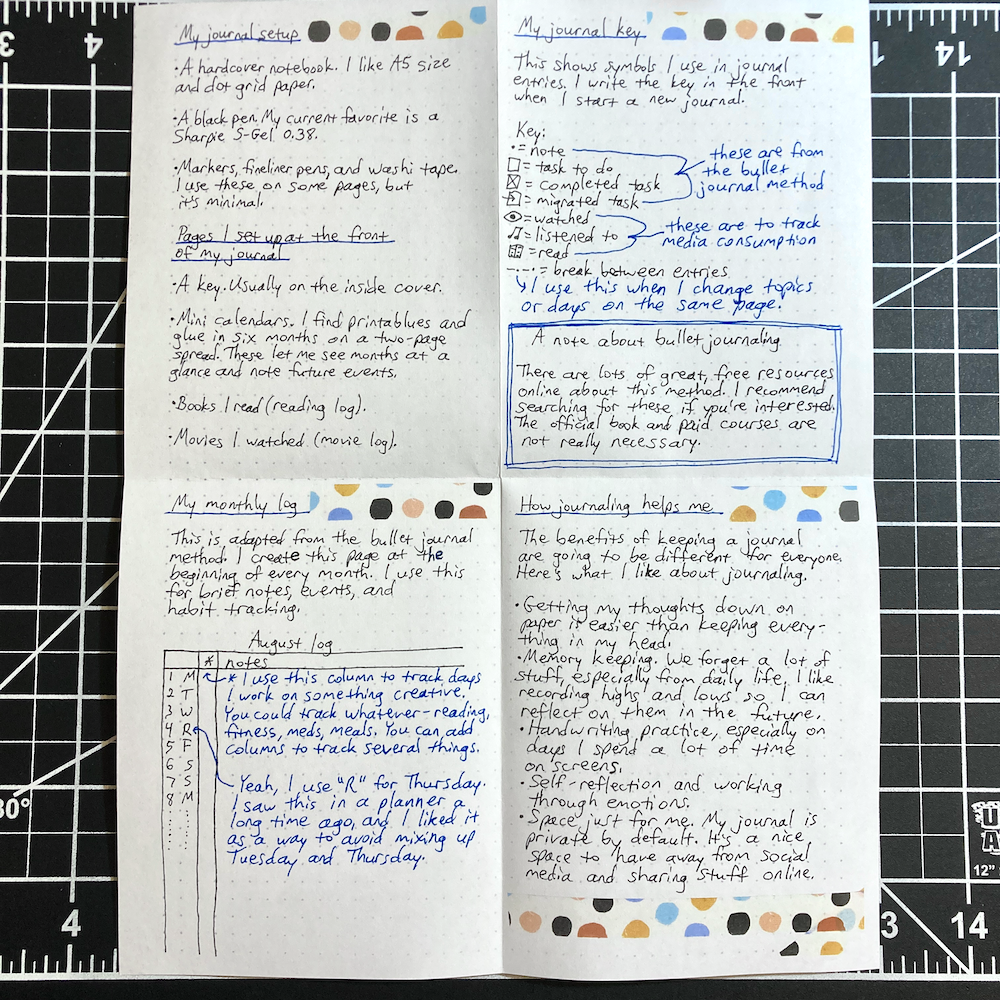
How I Keep a Journal is a zine about my journaling habit. It includes a short background on my journaling style, how I set up my notebook, and how journaling helps me. I wrote everything by hand, which is not my norm for zines with a lot of text. 😅 But it fits the journaling theme.
The zine is printed in color, double-sided, on white 8.5x11-inch paper.
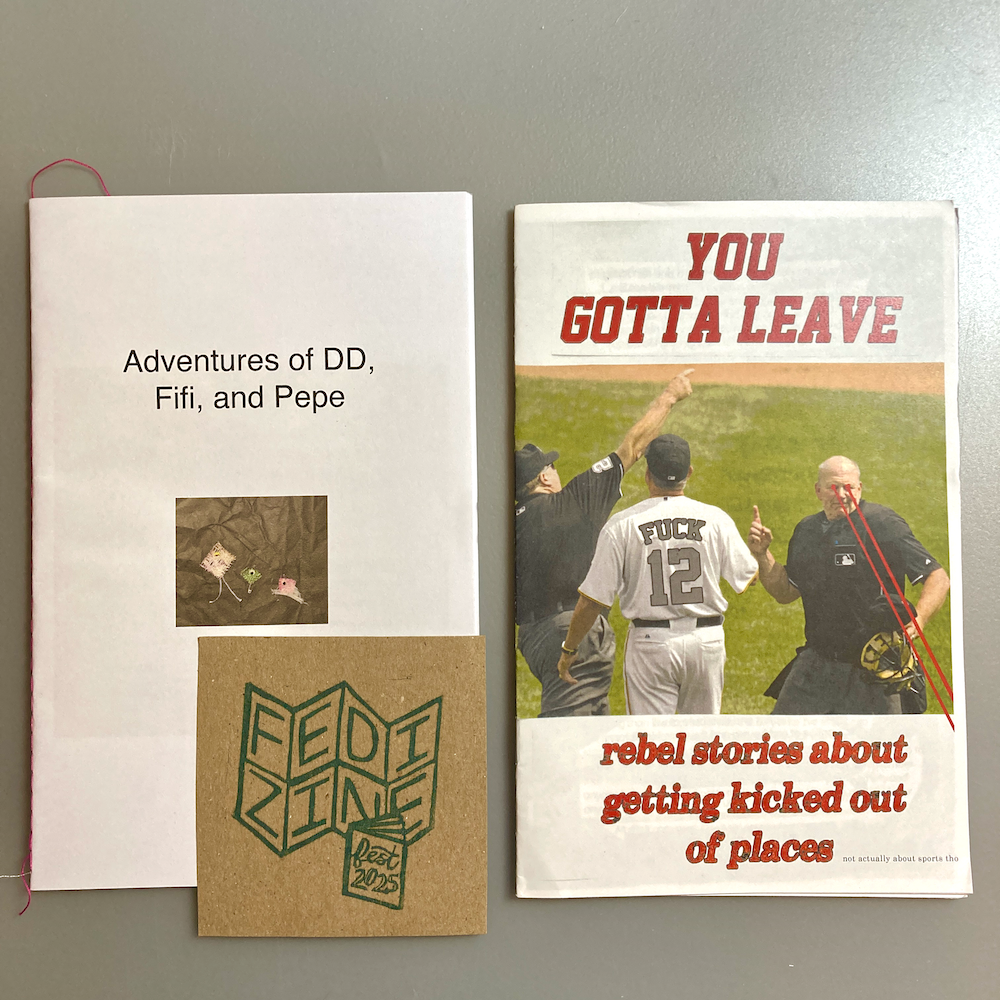
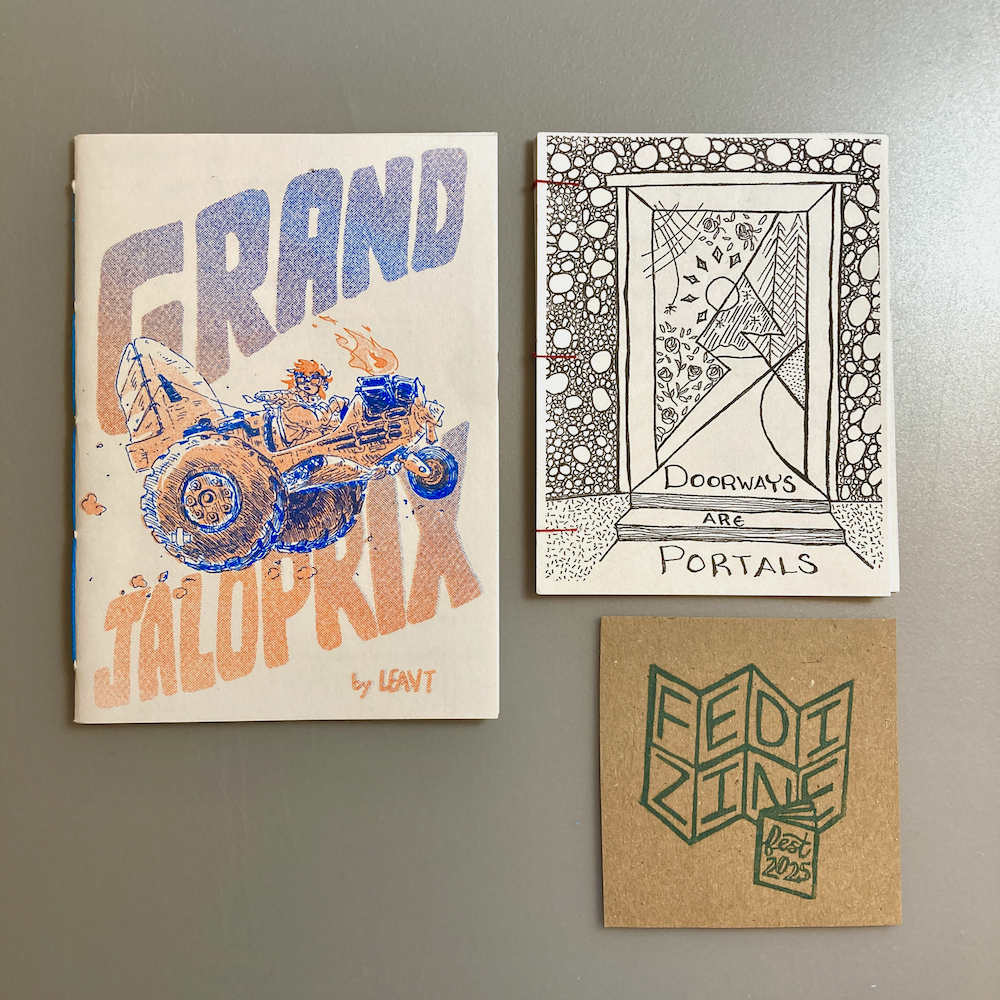
I’m not sure what zines I’ll be working on this month, but I am always open to trading zines! I’ll send zines anywhere mail can go. Check out my trading page for details. 📬 🌎
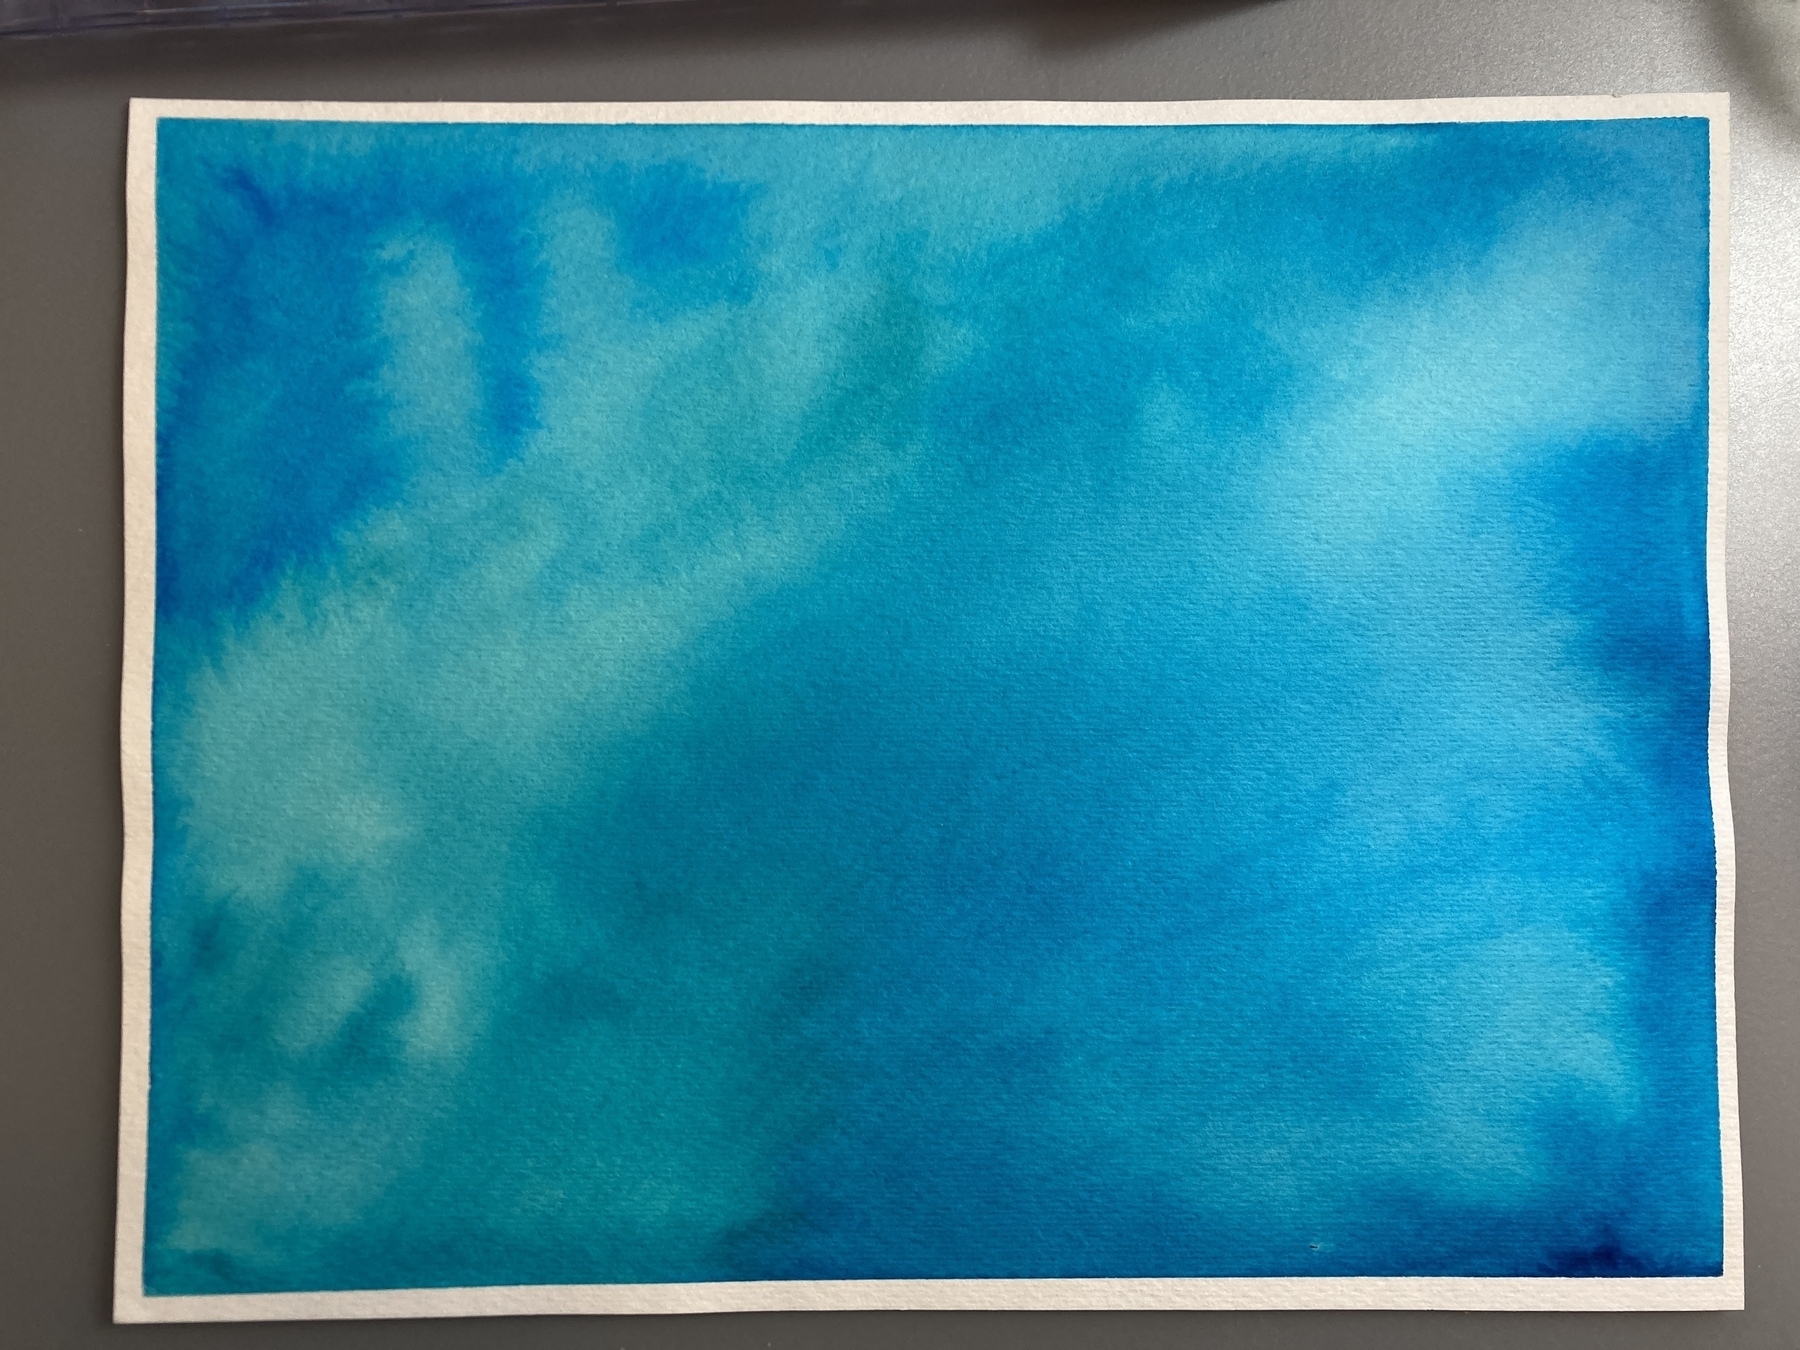
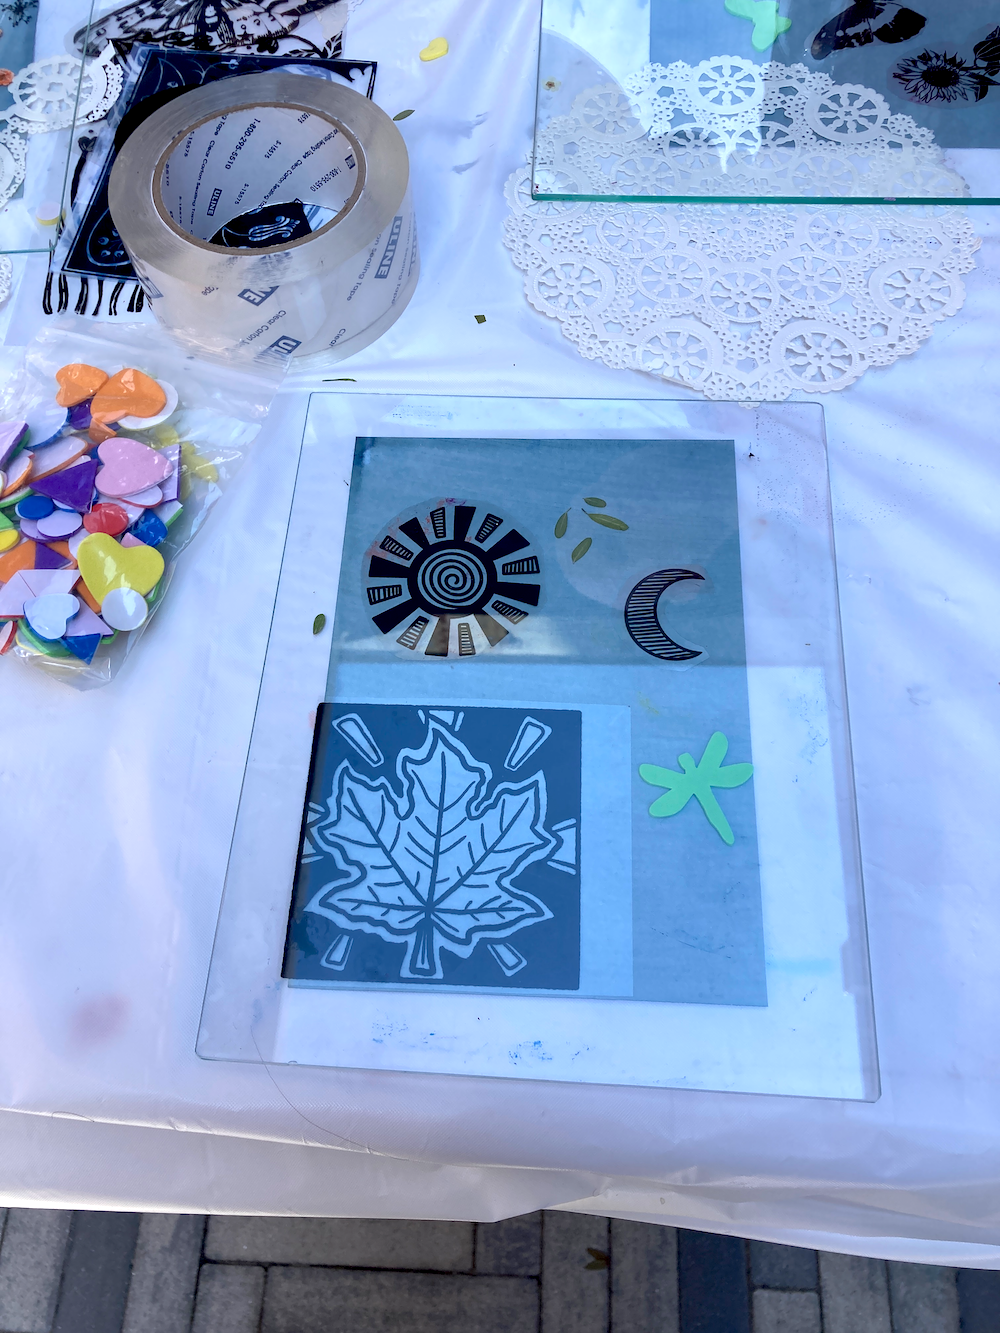
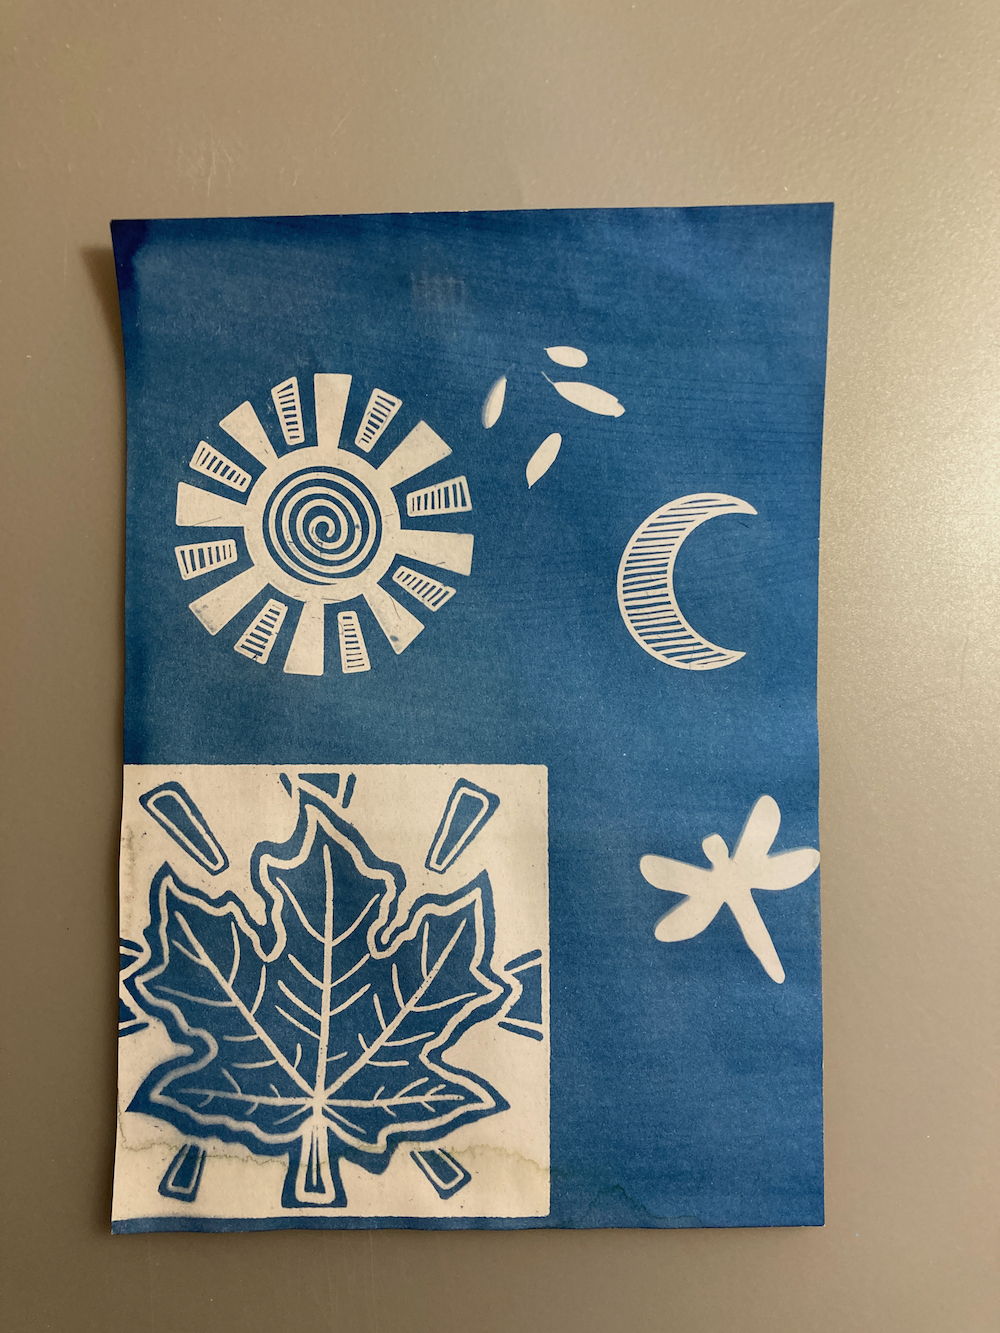
I made my first cyanotype today at a local print festival. This is a printing process that uses photo-sensitive paper and chemicals to produce a blue-colored print.
The first step is arranging items on the paper. Then you put a pane of glass on top to keep everything in place. This setup has to sit for about 5 minutes, like exposure time for the paper.
Then the paper gets washed in water. For this specific paper, you can put a few drops of hydrogen peroxide on the page and wipe it over the surface to make the blue more saturated.
After drying (easy in a heatwave) and flattening the paper, it looks like this.
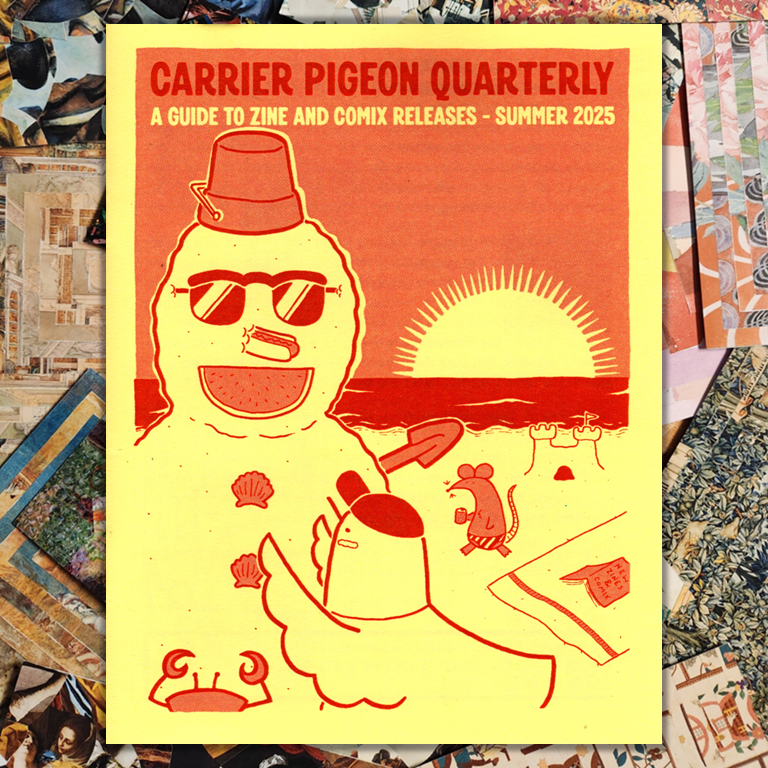
The new issue of Carrier Pigeon Quarterly is available! This is a guide to new zine and comics releases, organized by Joe Hohman.
I have a zine listed in this issue, and I’m excited to see what other work was included!